Setting up a blog on Github
While this is certainly not new, it was new for me. So I wanted to make sure I recorded what I learned this weekend.
Some Context
I was having lunch with a co-worker a couple weeks ago and he started talking about hosting websites on Github. I’ve been thinking about starting a blog over the past few months, but just haven’t been able to decide on the right platform to host it on. I’ve played around with Weebly, Squarespace and even Ghost hosted on Azure, but I was looking for low cost and a reasonable level of control and none of them quite fit the bill.
I remembered seeing an article from Phil Haack some time ago talking about how he ported his blog to Github. To say that Phil inspired my site would be an understatement - I cloned his site and then started replacing images, links and posts to personalize it. Standing on the shoulders of giants. Thanks Phil!
Getting Started
The first thing I did was create a github project to host my site. I could have created a user page repository called https://github.com/turp/turp.github.io, but since I was following Phil’s lead, I created a project called https://github.com/turp/jayturpin.com to host this blog.
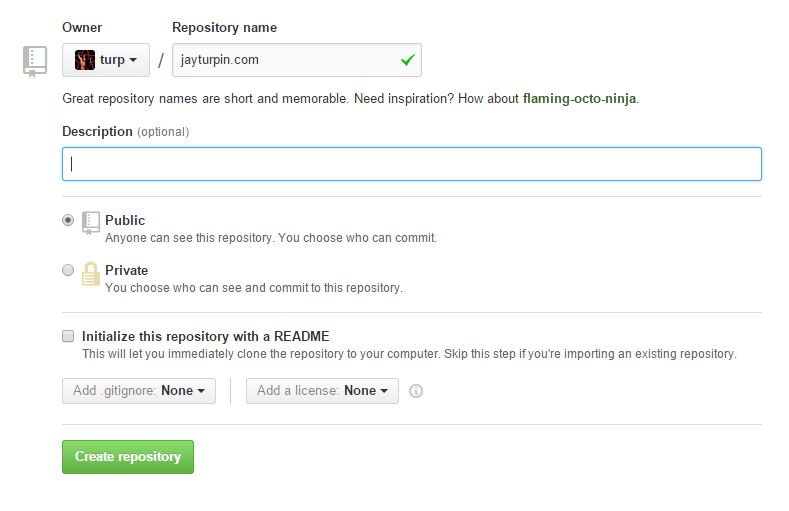
If you’re really interested, you can read more about the difference between user and project pages at https://help.github.com/articles/user-organization-and-project-pages/.
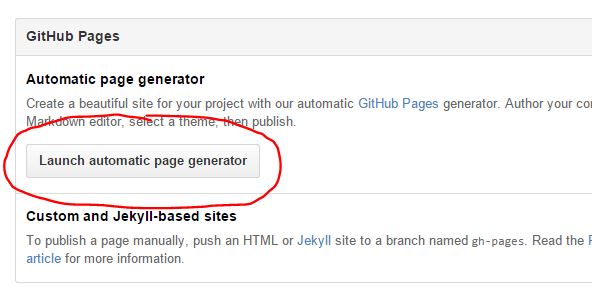
To see something quickly, I let Github do some of the work for me. I clicked the Settings button and scrolled down to the Github Pages section and clicked the Automatic Page Generator
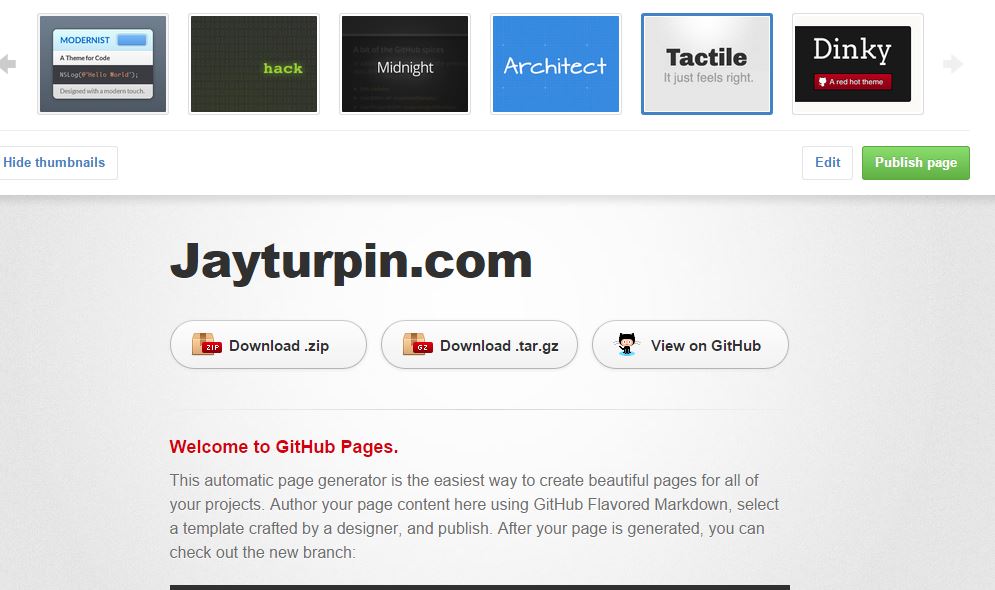
Then I entered the name of my site and selected a theme;
And that’s it. You’ll see a new branch setup in your repo called gh-pages and see files that look something like this:
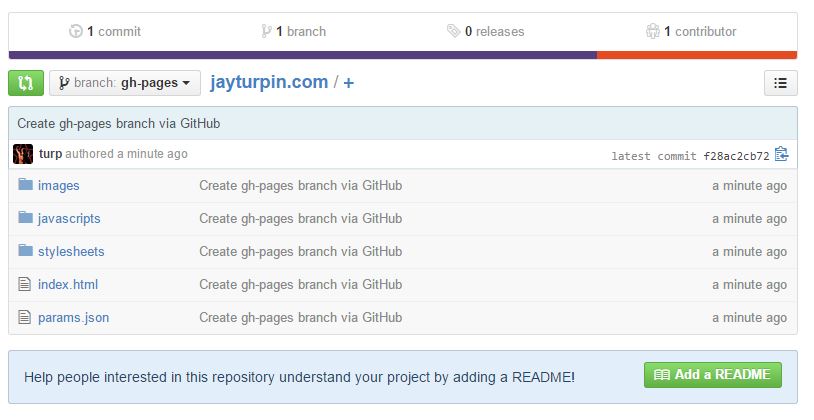
Point your browser to http://turp.github.io/jayturpin.com
Jekyll
Github Pages are created with Jekyll, a Ruby library that converts Markdown script into HTML. It was created with blogs in mind, so it understands permalinks, categories, pages and posts, making blogging pretty easy.
If you want to be able to run your site locally, while your fine tuning the layout, you will need to install a few things. Follow the instructions here to install Ruby, Bundler and Jekyll. I also recommend that you install Python too, since Jekyll uses it to perform code highlighting.
Once you have everything installed, run from the root of your local repository
jekyll serve
and visit http://localhost:4000
Custom Domain
While it’s cool to be able to send people to a such memorable web address as http://turp.github.io/jayturpin.com, I wanted to be able to use my own domain. Luckily, Github makes it easy.
First, create a file called CNAME (I assume spelling and capitalization is important) and place it in the root of your repository. Add a single line to that file with the name of your domain, in my case
jay.turpin.com
Once that is done, visit your domain registrar (I use Namecheap.com and point your domain name to [username].github.io.:
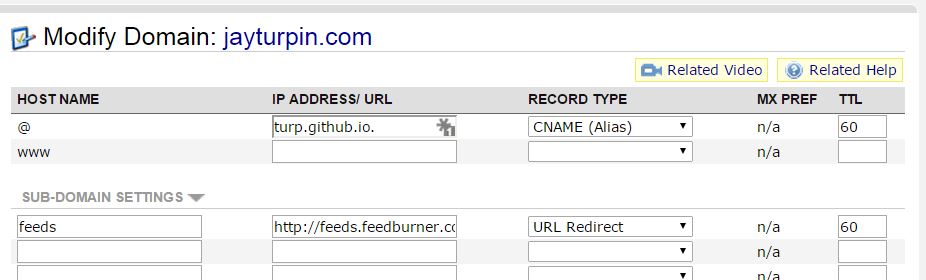
It may take a few minutes to propagate, so don’t freak out if it doesn’t work right away.
I also added a subdomain called feeds to redirect to my Feedburner site to allow me to track the three family members that will eventually subscribe to my blog.
Creating Posts
All blog posts are stored in the _posts folder. I created a folder for each year, but that is optional. If you want to work on posts and not make them public yet, store them in a folder called _drafts. You can see how them look by running Jekyll with the draft option
jekyll serve --drafts
Conclusion
And that’s it! If you want a different theme, there are dozens available at jekyllthemes.org that you can use for your site.